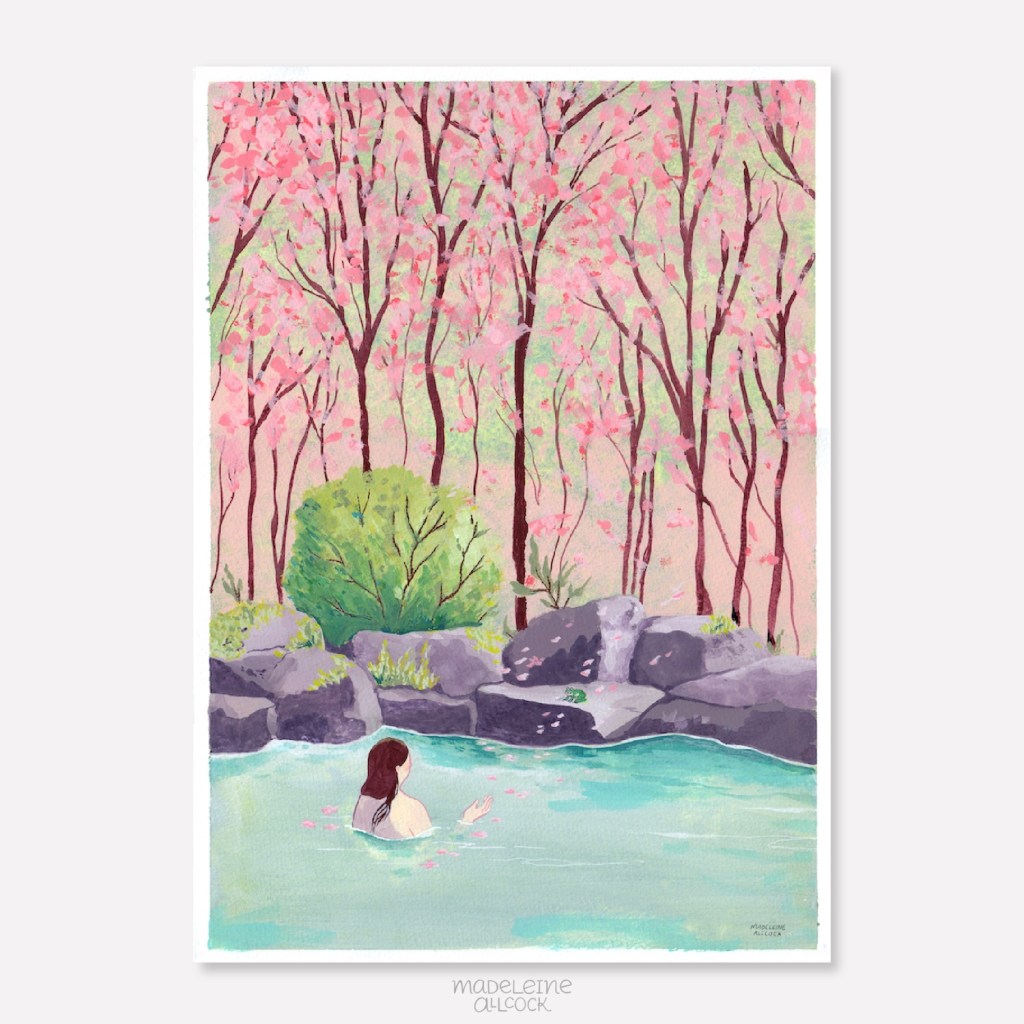
I’m part of an art group that meets weekly at a local library. When I moved to Dorset, I didn’t know any creative people, and missed the camaraderie of the gallery in Banbury. Having a time to meet with others and draw together is valuable to me, it helps to feel part of a group of people who love making art. There are no classes or critiques, and everyone works on their own thing. The library occasionally puts on exhibitions of the members works, and this time, the theme was Science Fiction. It took a while to come up with an idea, as it’s not a genre I usually explore in art. I enjoy reading about it from time to time, but it doesn’t translate into painting ideas for me, as I’m not interested in machinery, robots, aliens etc.
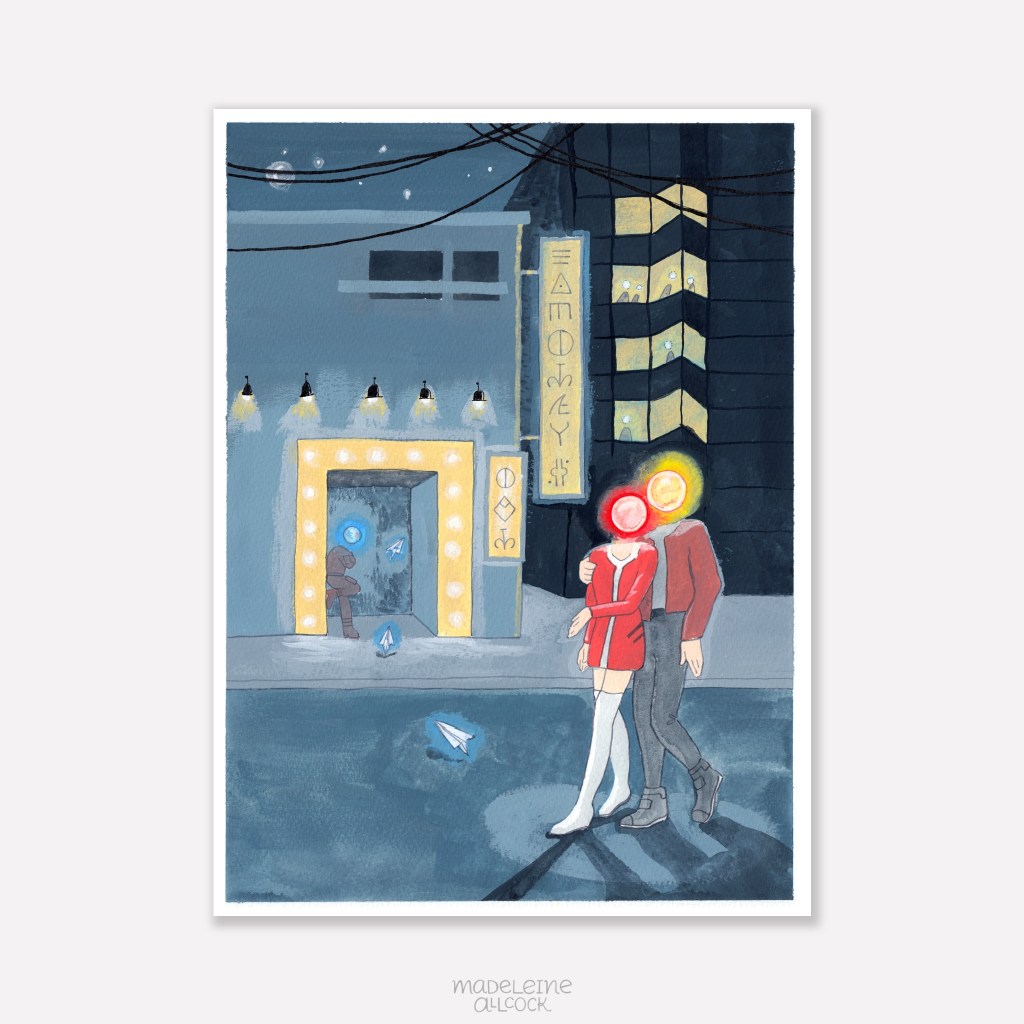
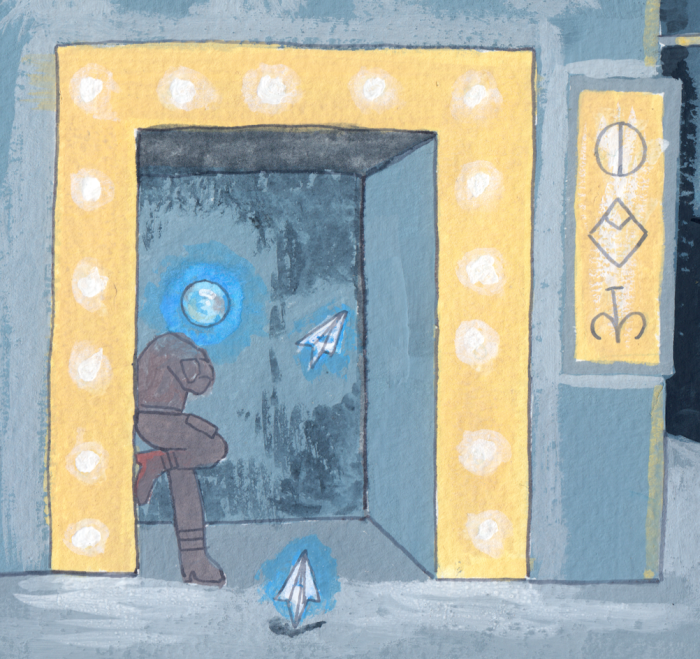
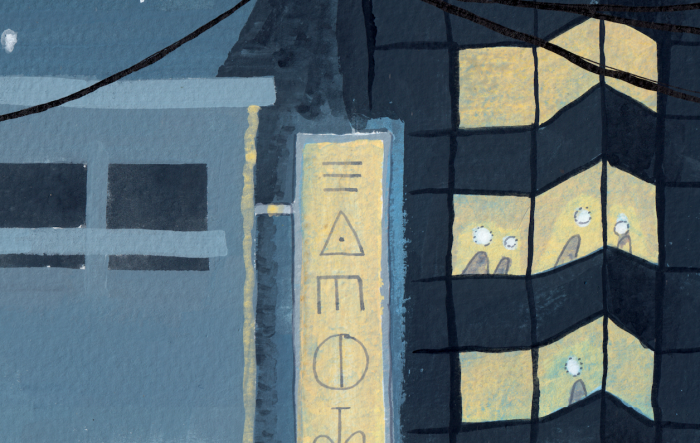
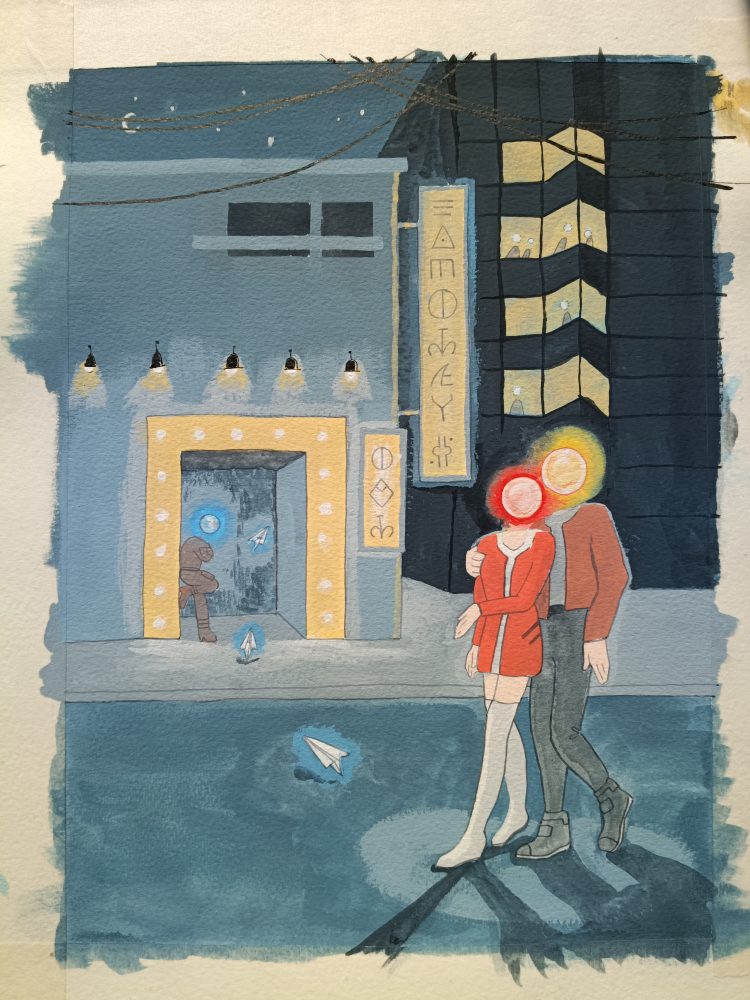
This painting, Night Life, shows a couple with glowing orbs for heads outside a theatre in a city. Their heads are warm colours, in contrast to the muted blue-grey background and distant character. Electronic paper planes drift through the scene, and the signs are written in a futuristic language. It’s designed to lead the eye straight to the couple, then to the doorway, along the sign and back to the couple again.
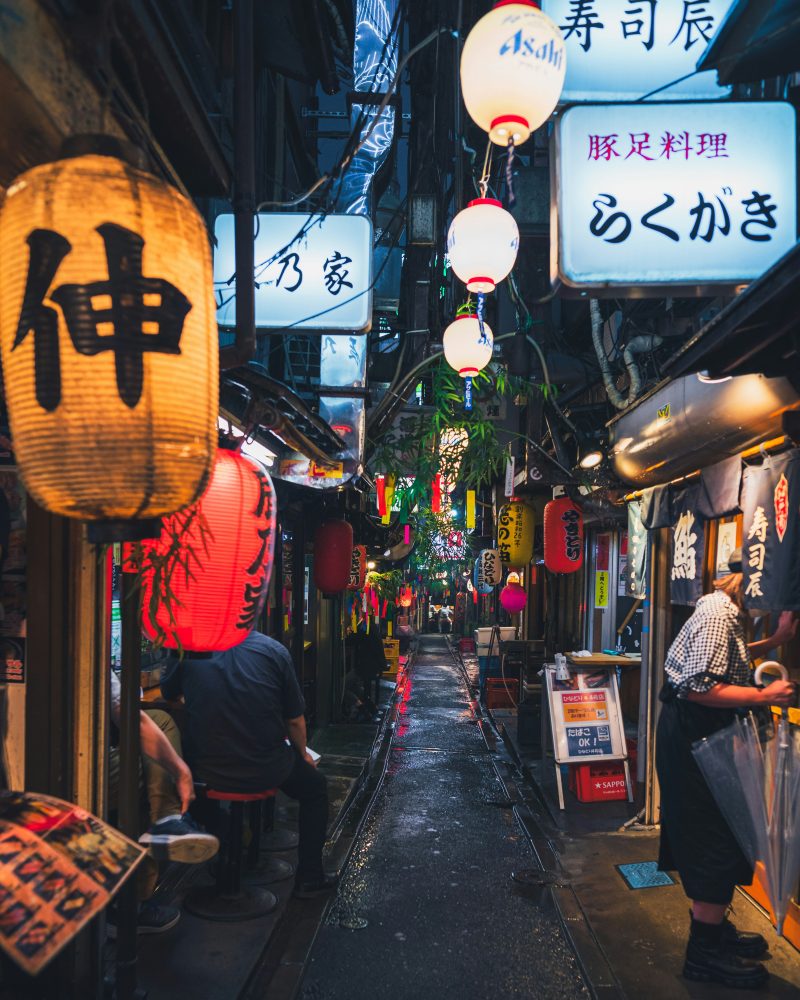
Racking my brains for ideas and getting nowhere, I turned to stock photography to at least practice drawing cityscapes, as I had a vague idea that a city is a good starting point for futuristic artwork. While browsing, one photo stood out to me, of a man obscured behind a lantern in a crowded Tokyo street. I thought his head looked like it was the lantern itself, and I sketched characters with this idea. However, the idea of the lantern heads didn’t feel right, partly because of the cultural associations with paper lanterns. I might explore the idea in the future, but it would need a clear reason for being there. I expanded the idea, and made the heads glowing light orbs instead.
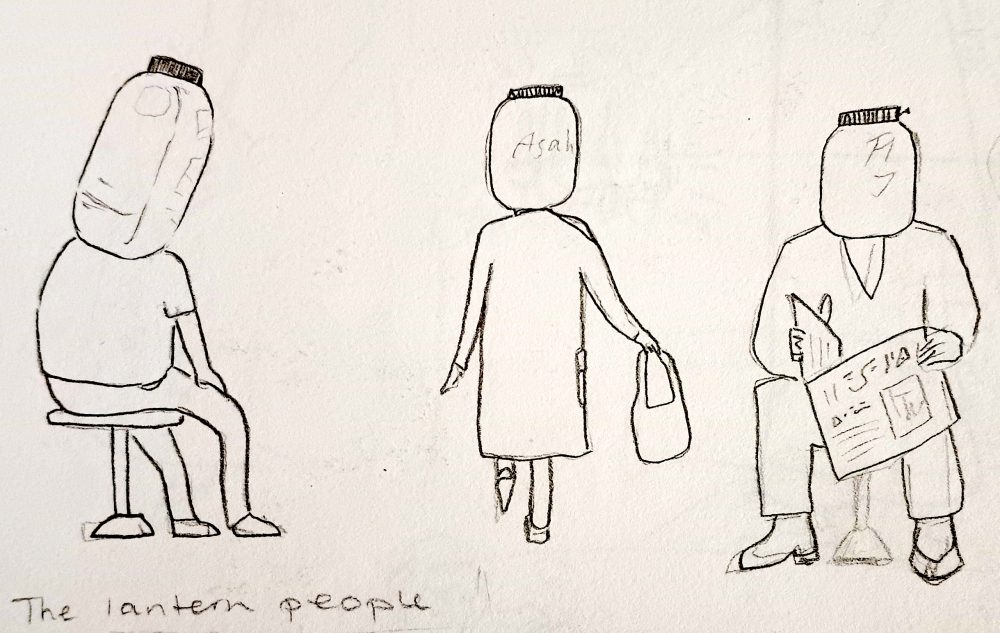
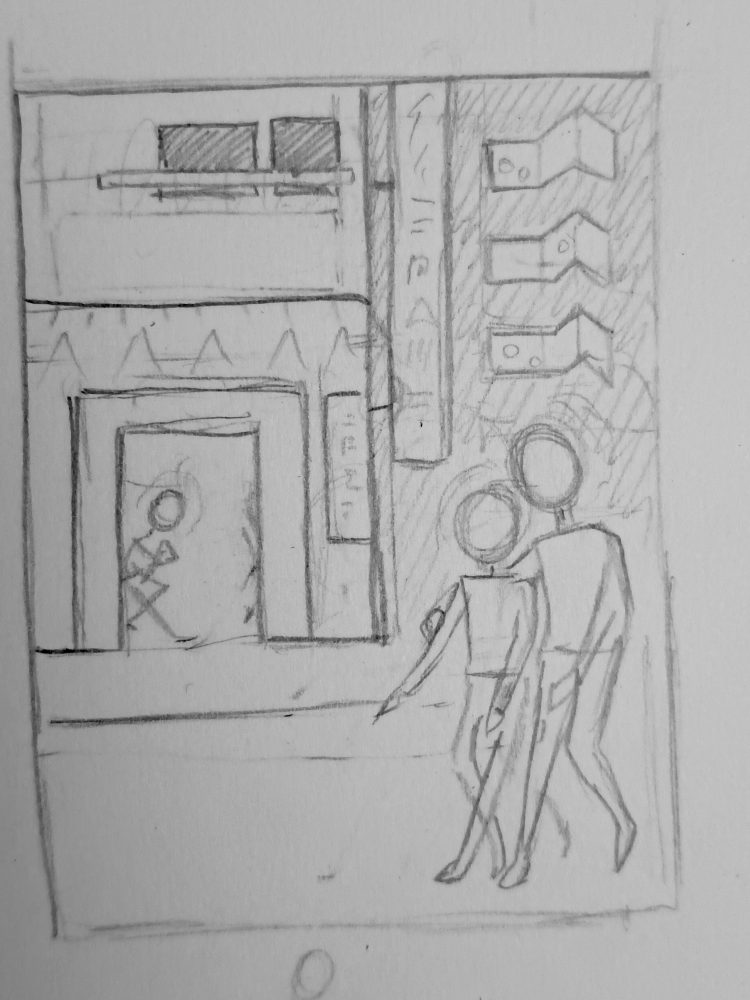
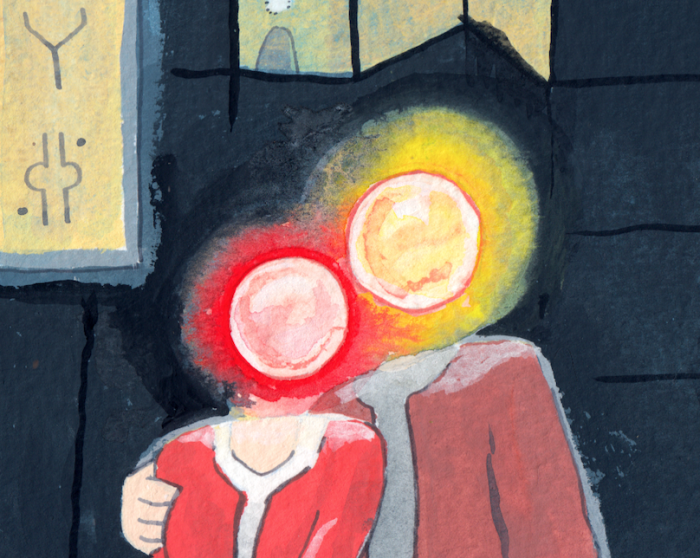
I sketched various compositions, and thought about how the heads could express emotion through the colours alone, with red/yellow representing connection and warmth, and blue representing loneliness, a theme I’ve explored before in my art.
I didn’t start with a fixed meaning for this painting, and I like that it’s ended up as open to interpretation. I added the paper planes to the sketch at the last moment, as small, anonymous messages drifting through the scene.
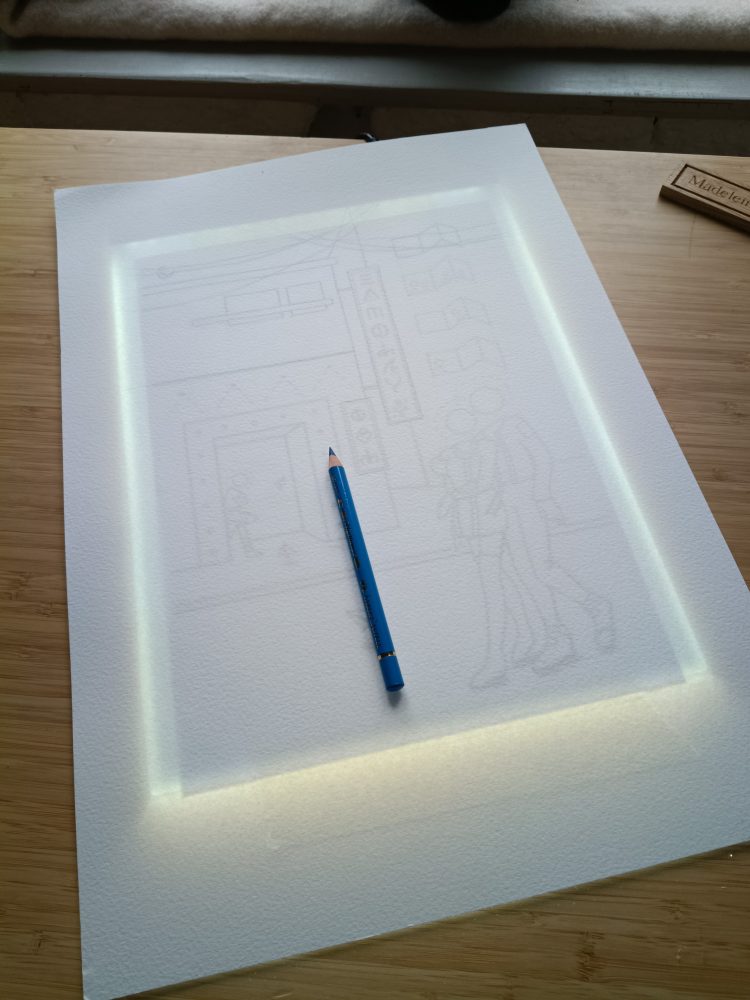
The process of this piece wasn’t smooth, and there were various aspects I found challenging. The theme itself was outside of my comfort zone, and the figures, glowing idea, and telling a story through colour and light alone began to feel intimidating. At one point I was convinced I’d ruined it, which is usually a sign I’m halfway through. I’m getting better at pushing through feelings of self-doubt and negative thoughts. With digital work, you can adjust it to your heart’s content, but traditional painting as a ‘one shot’, performance feeling to it.
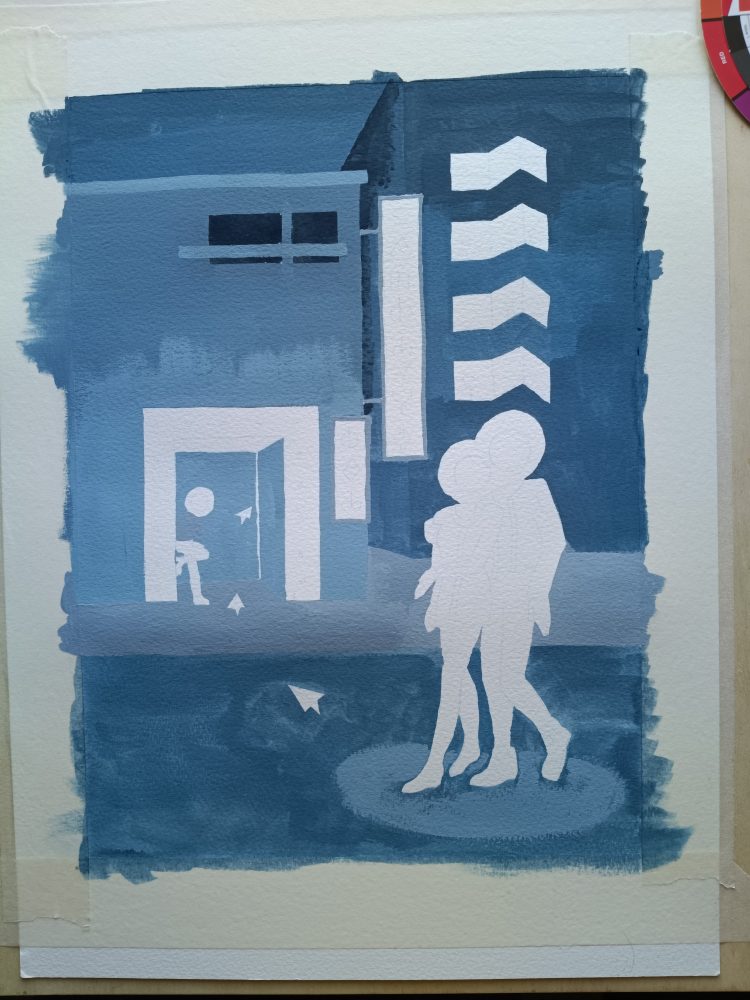
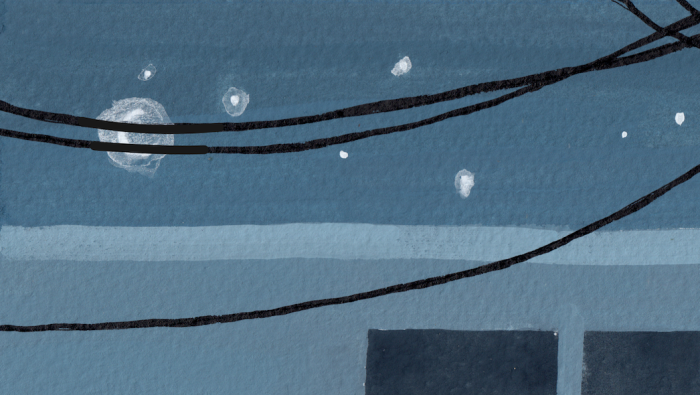
The background is created with a mixture of blue, black and white gouache to create a monochromatic city. Blue feels colder and more alive than grey on its own, which can feel flat. I used a square shape brush to get sharp edges. I layered more paint on top until the contrast looked right, keeping in mind that the couple and lights should stand out.
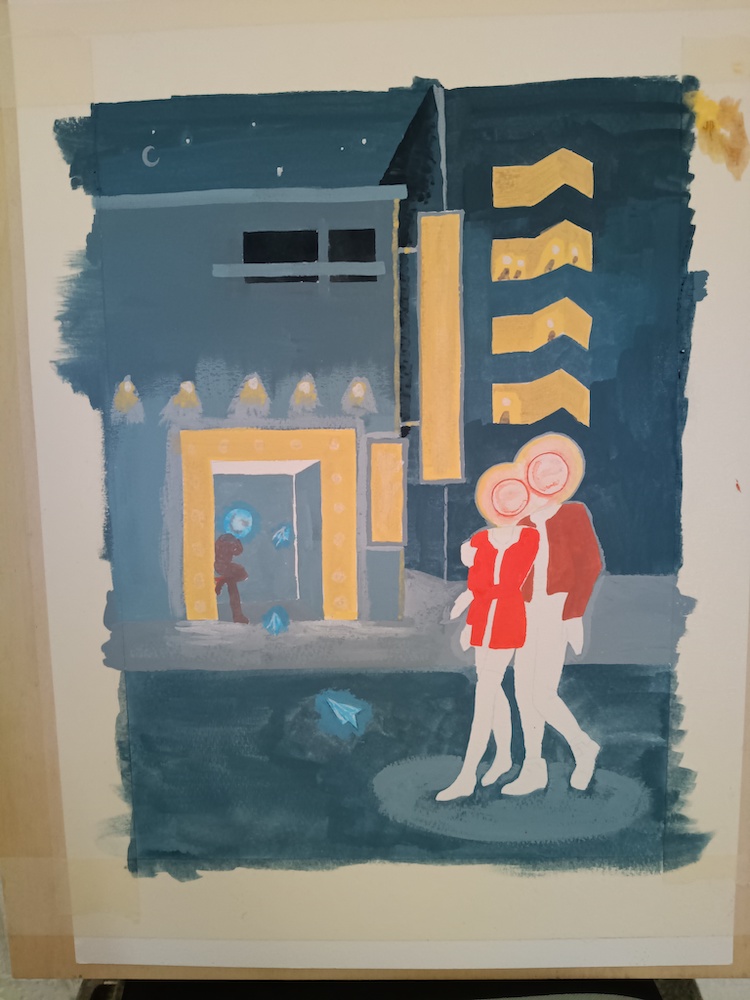
The glowing heads didn’t look right and it took a while to work out how to get the effect I wanted. I tried a few techniques in a sketchbook, and settled on a wet-in-wet technique by first applying water, then the background colour around the outer edge, followed by the head-glow colour on the inner edge, and letting them bleed together.
Through creating this painting, I learned that I prefer graphic, playful work, and that ideas can emerge after making as well as before. When I paint a scene, in some ways I am transported into it while painting, and this meditative, transportation element makes creating art a lot of fun. Working out how to paint the glowing heads, and where shadows should fall, are techniques I can use for future pieces. After framing it and stepping back, I realised this difficult piece is actually one of my stronger works. This is why it’s important to finish paintings even if you are struggling partway through.
Even though it’s a different theme from the rest of my work, the painting style, colours, dreamlike imagery and surreal feeling link to my portfolio as a whole. I think it’s not worth worrying about a style and restricting yourself to a comfort zone, as your artistic voice will come out in every piece regardless.
On reflection, I think I would make another painting like this, and it’s great to challenge what I think I’m capable of. I’d be really interested in how others interpret it. I learned about the ways I like to work, techniques to try again, and perseverance in pushing through difficult work. Night Life will be at Gillingham Library, Dorset, from 7 – 21 April 2026.